Sunday, 30 September 2012

Christening Quilt.

I'm off to a double christening today, for twins :) I'll try and explain the relationship I have to these babies - they're the children of my cousin Rose's girlfriend, although I believe Rose has formally adopted them as well. So I think that sort of makes them my second cousins? Anyway, they're very cute - Henry and Grace.

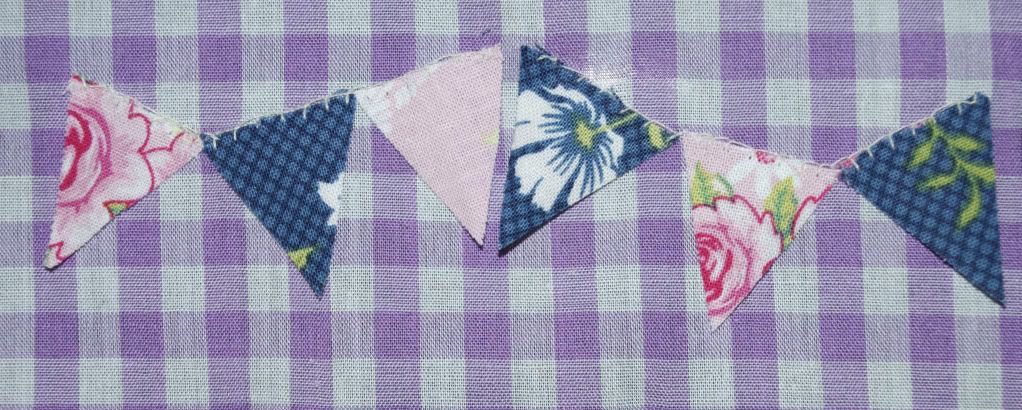
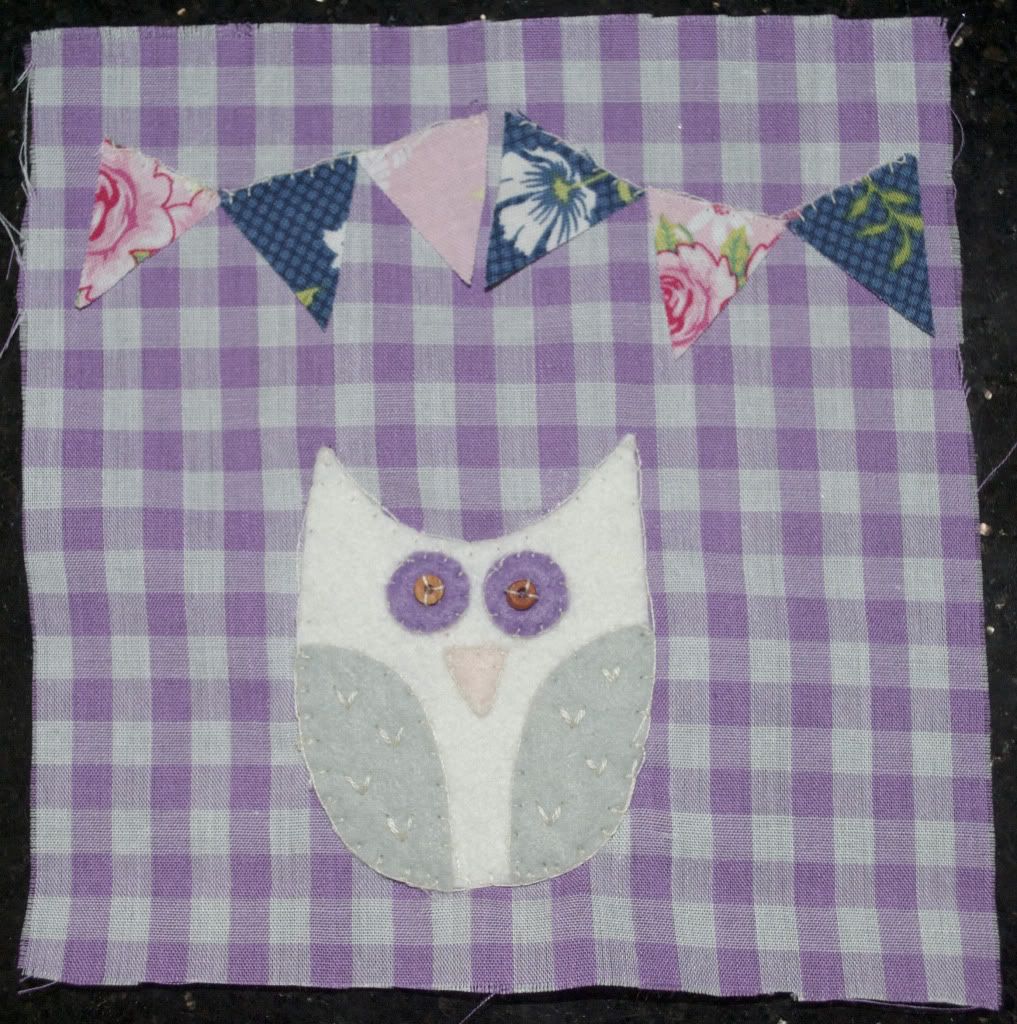
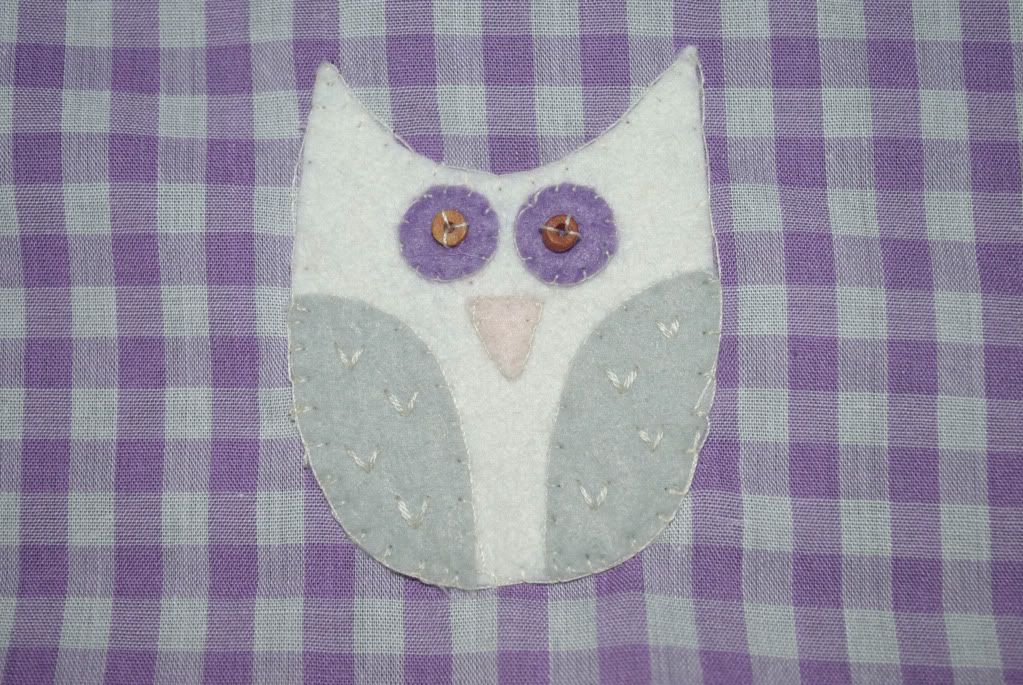
For their present Rose has asked us to each make a square image for them to collate into a quilt which they're going to hang on the babies' bedroom wall. They'd like to make them personal to us. Me, my mum and my sister all got a square of fabric and this is what I did with mine:
Me and my sister with Henry and Grace :)


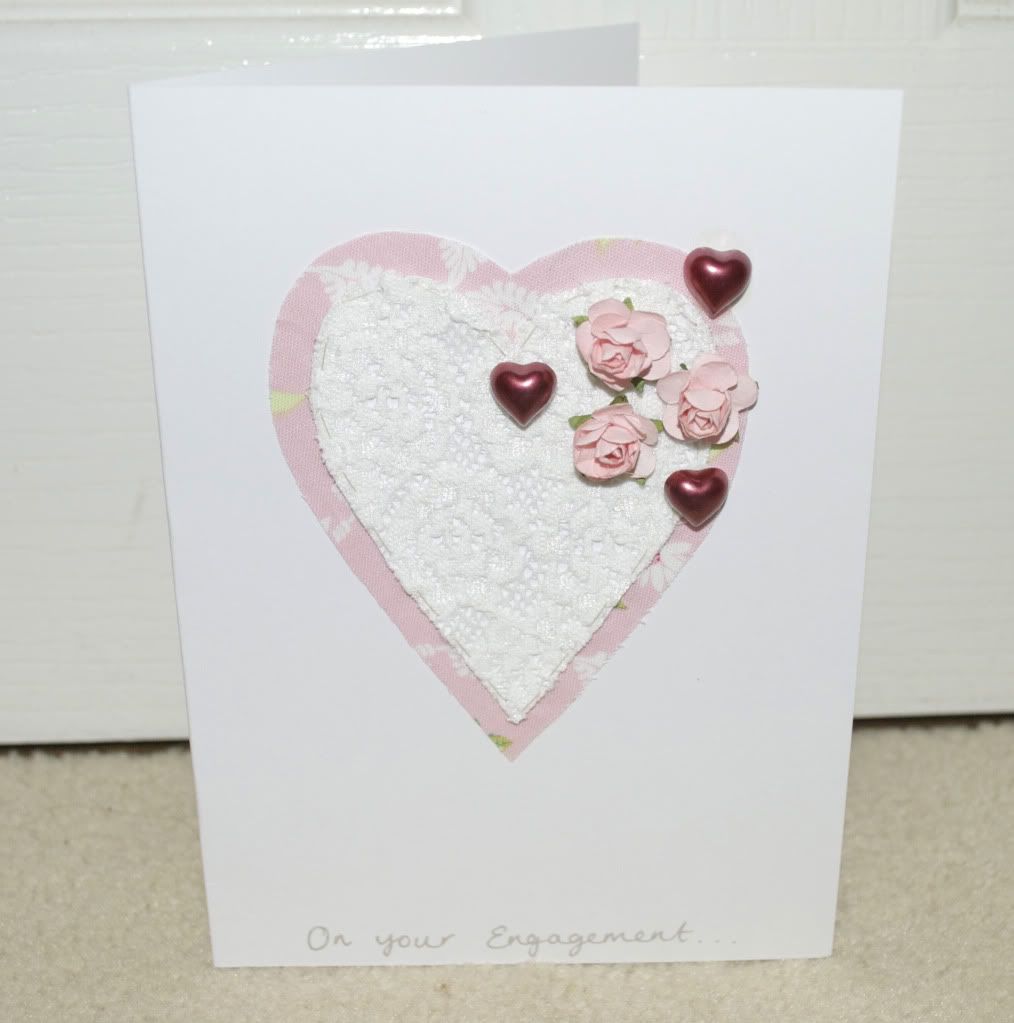
Some other good family news of late, my brother and his girlfriend have recently gotten engaged! So happy for them.

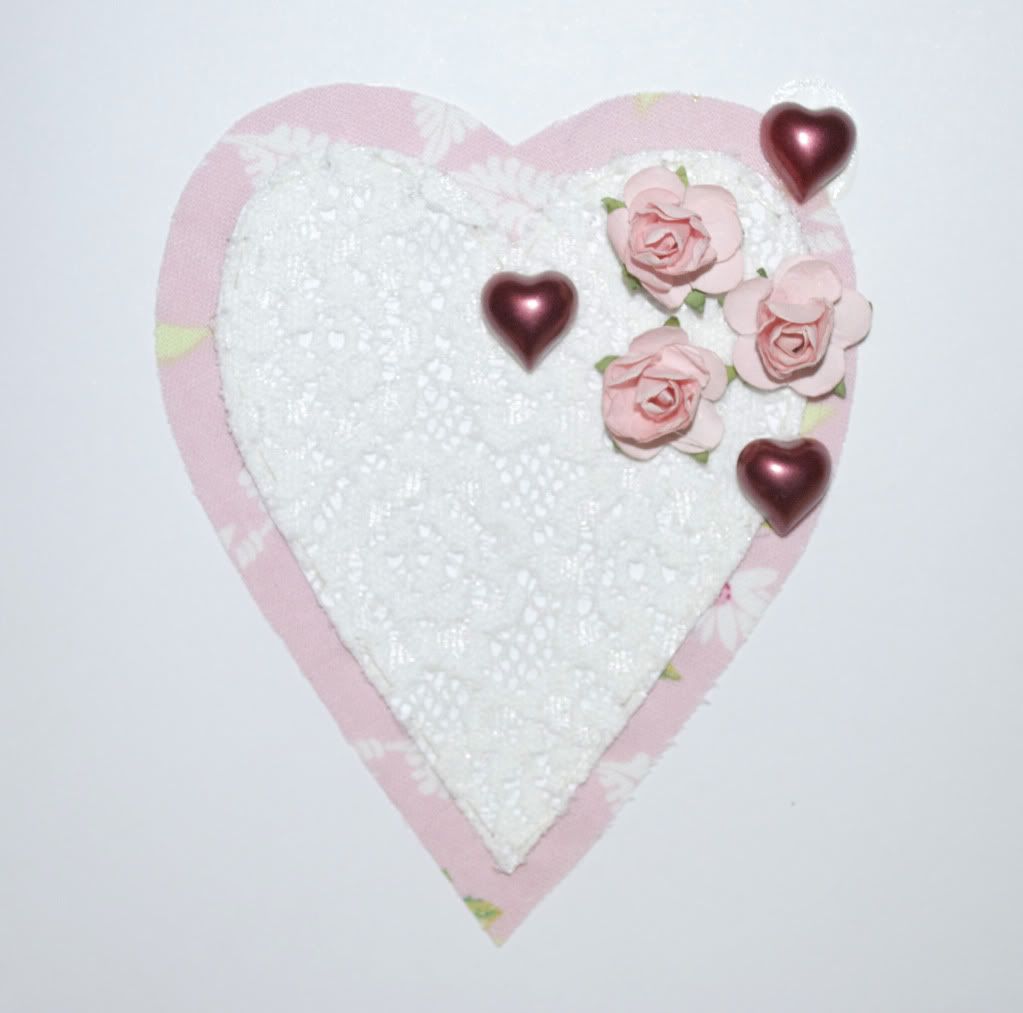
Anyway, this is the card I made for them:

Thursday, 27 September 2012

Blue Ribbon.

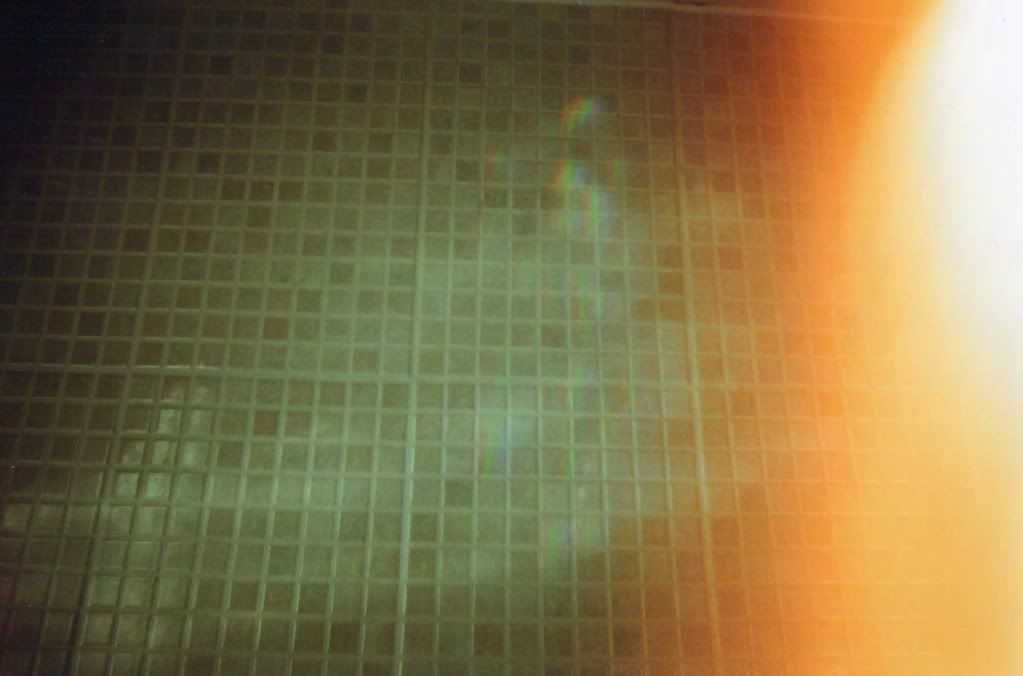
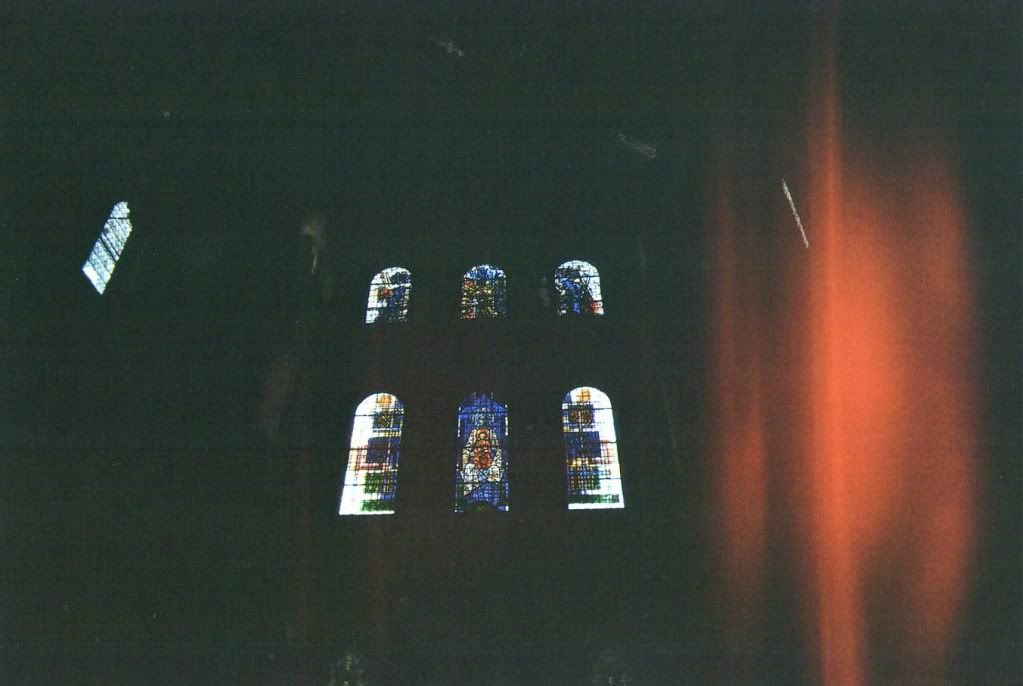
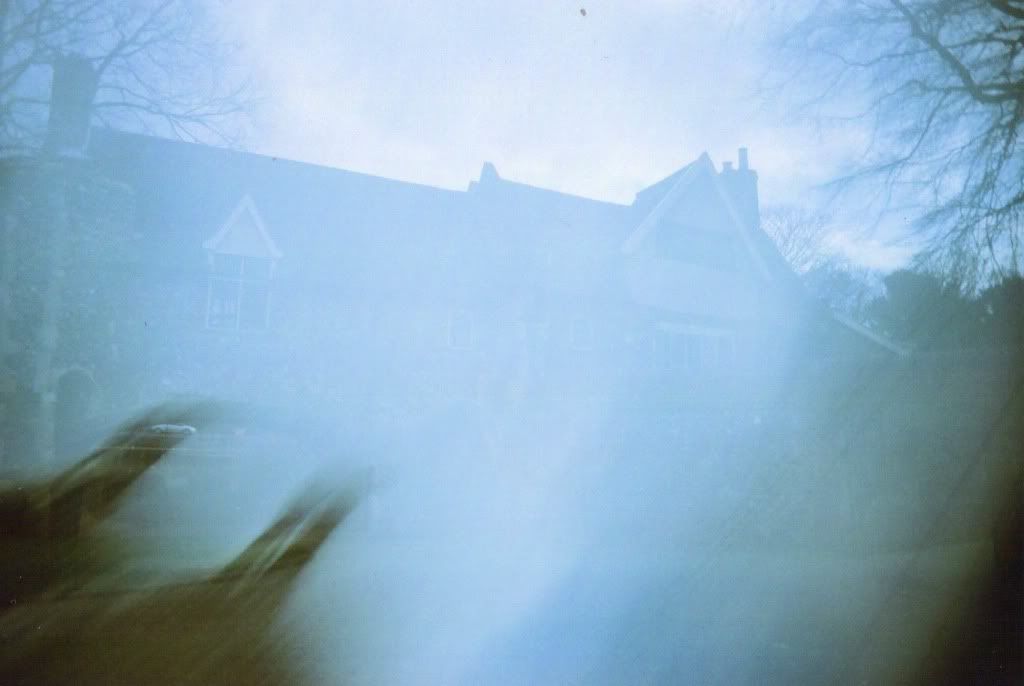
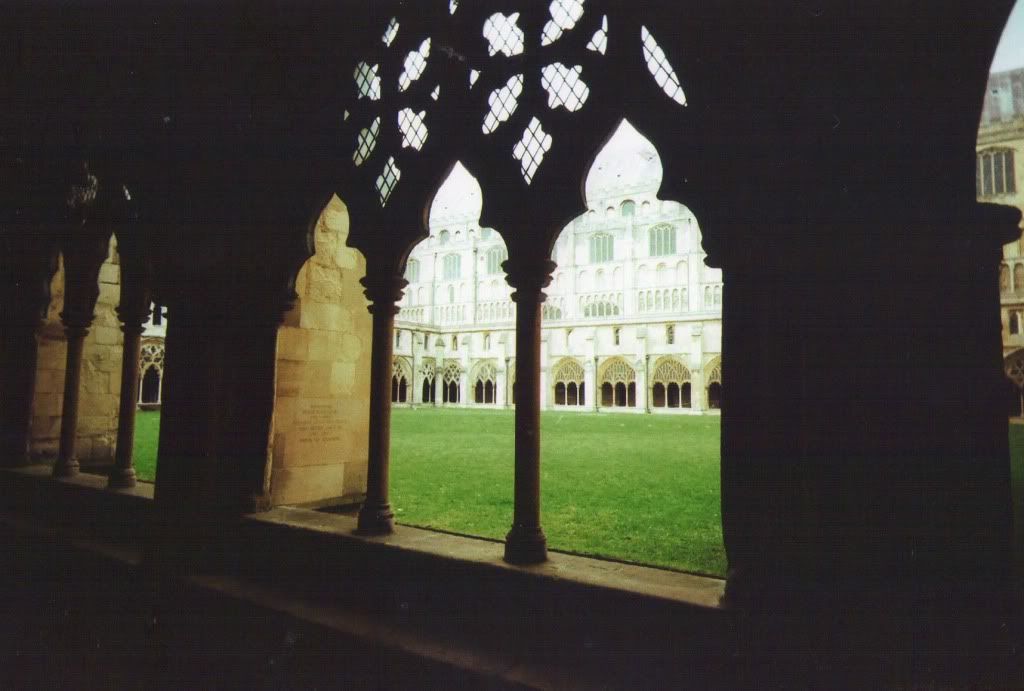
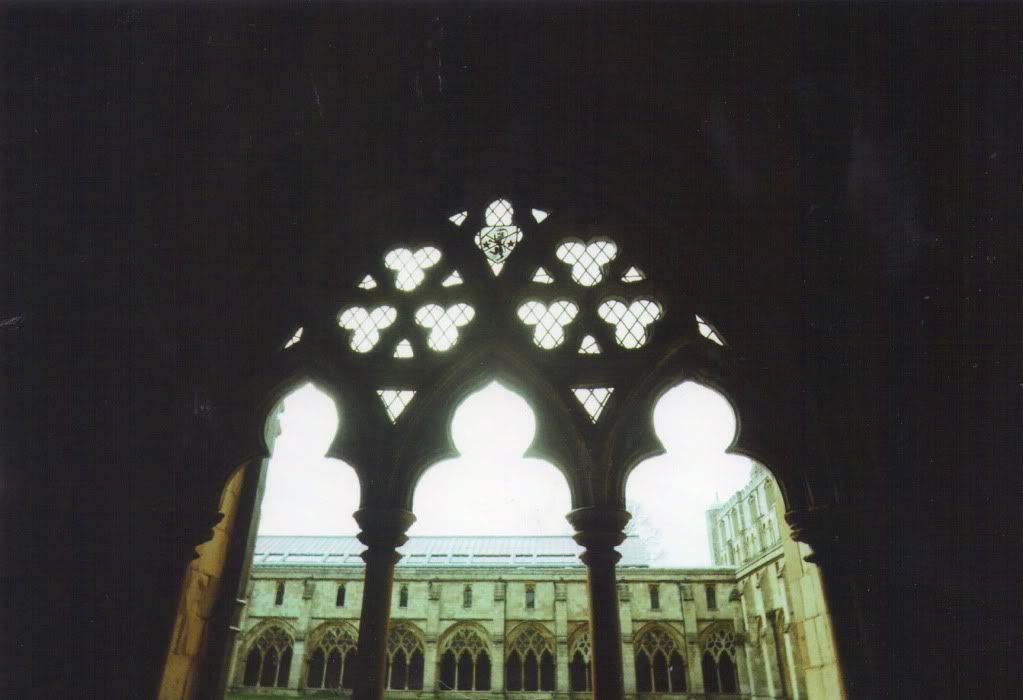
This set of photos was taken with my SuperHeadz Blue Ribbon Camera. I think I've overused this camera bit because half the time it doesn't work, but the rest of the time I get great results like these!

I've got my eye on the SuperHeadz Black Slim Devil Camera next, but sadly I don't have any money to spare on cameras at the moment.

Anyway, you can view all the photos I've taken on this camera in the set on my Flickr.

Wednesday, 26 September 2012

Cheeeeeesey Goodness.

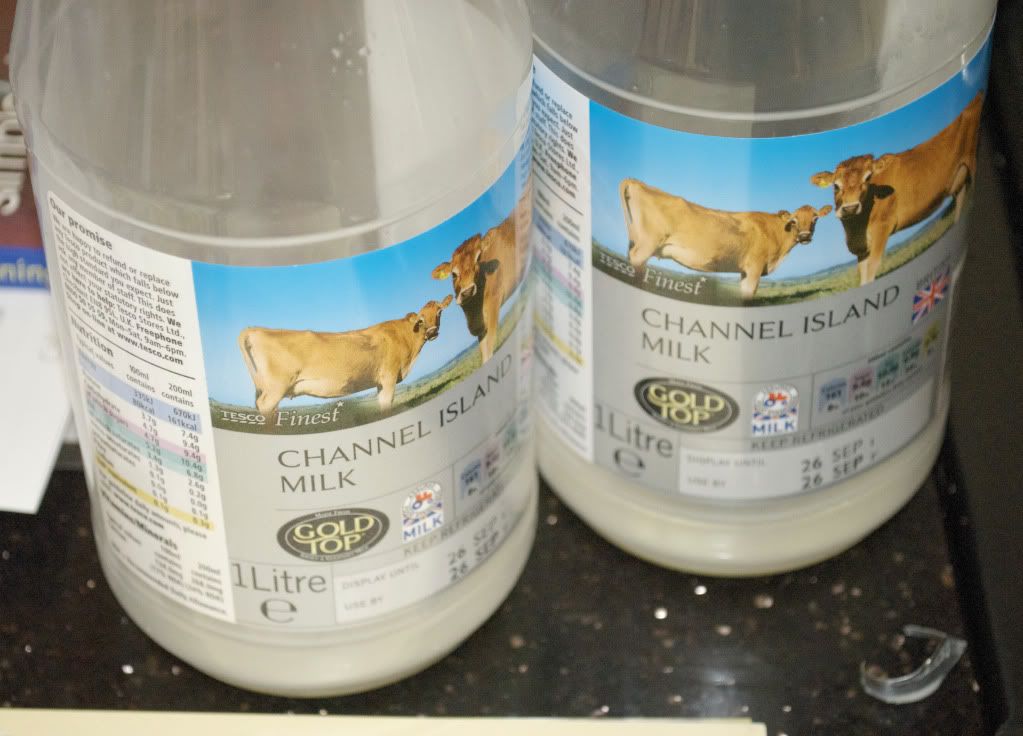
My mum has been getting into all sorts of country kitchen hobbies now that we live in the countryside - she grows her own vegetables, there was talk of getting chickens etc, and her latest venture is cheese making. I've been recruited as her assistant, and the first cheese we tried out was halloumi, a personal favourite.

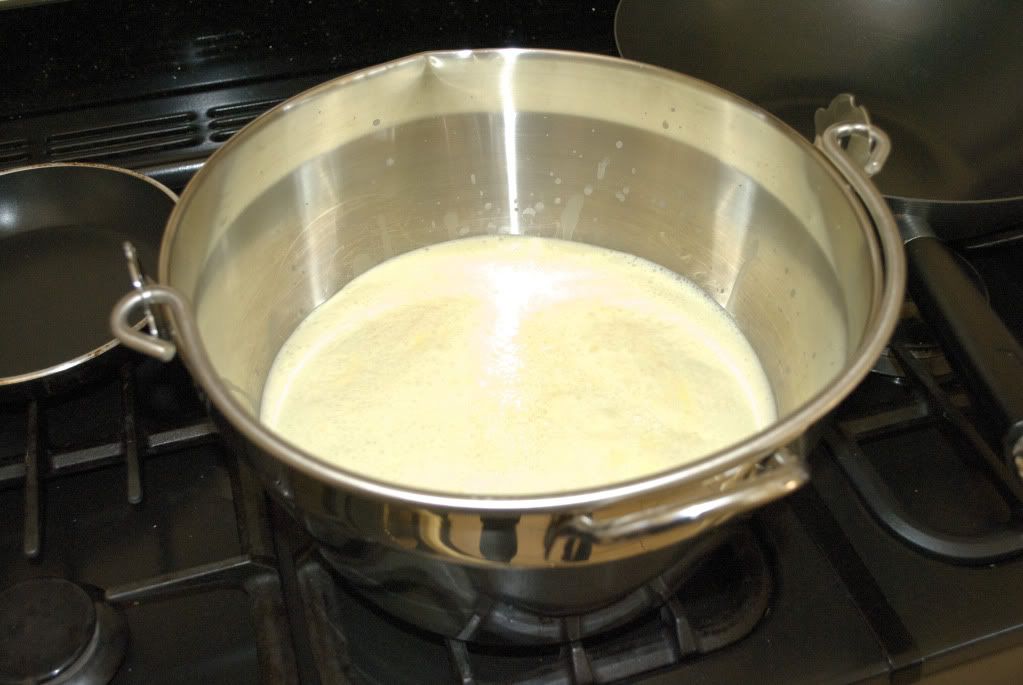
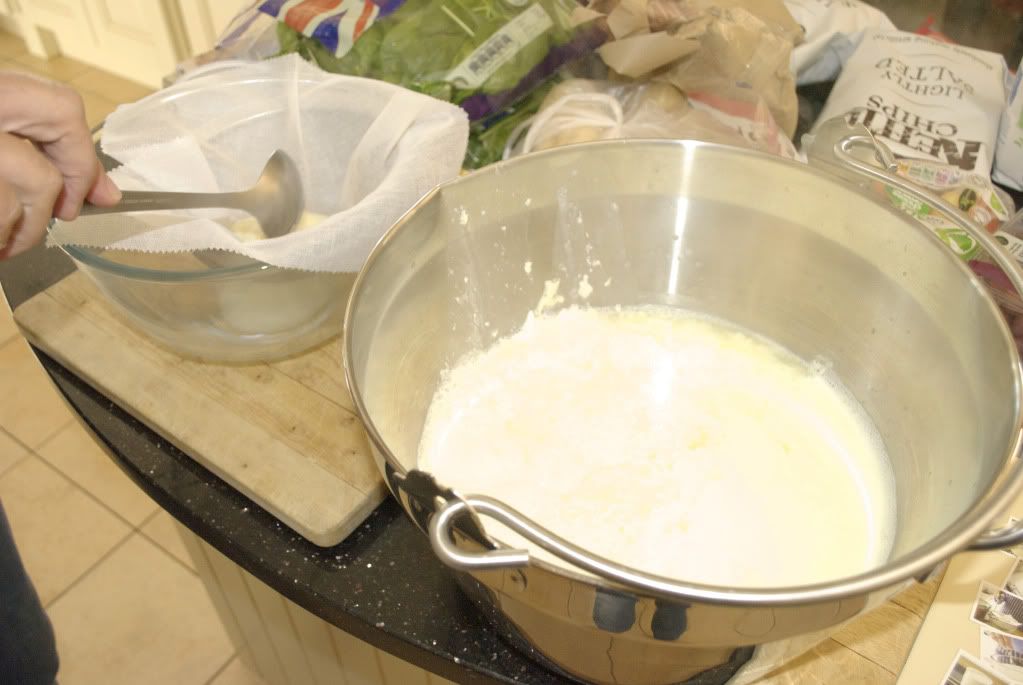
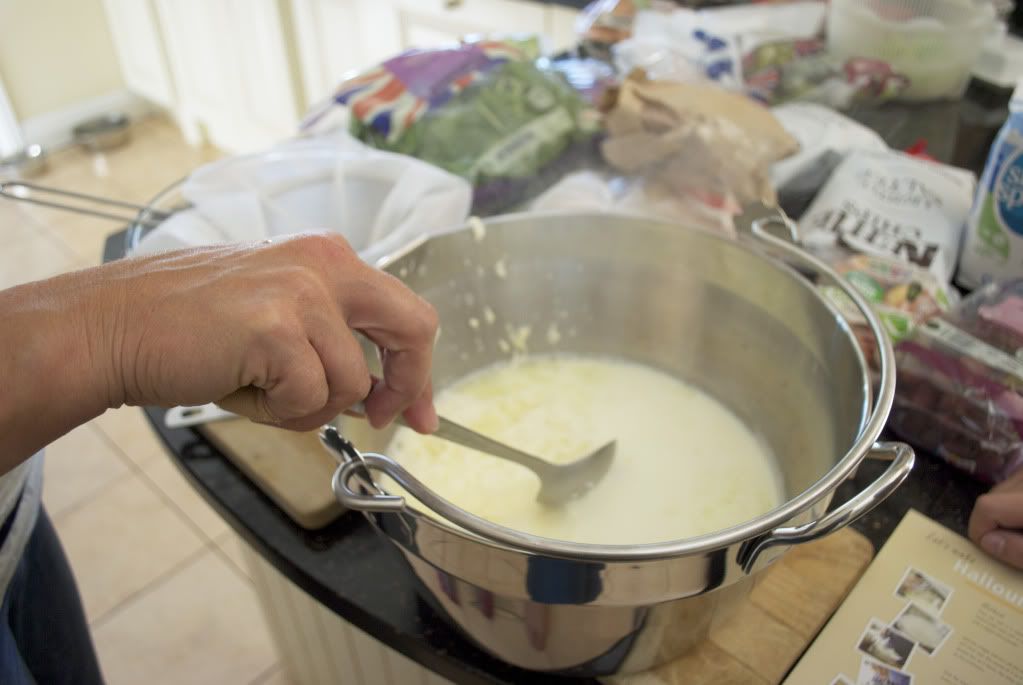
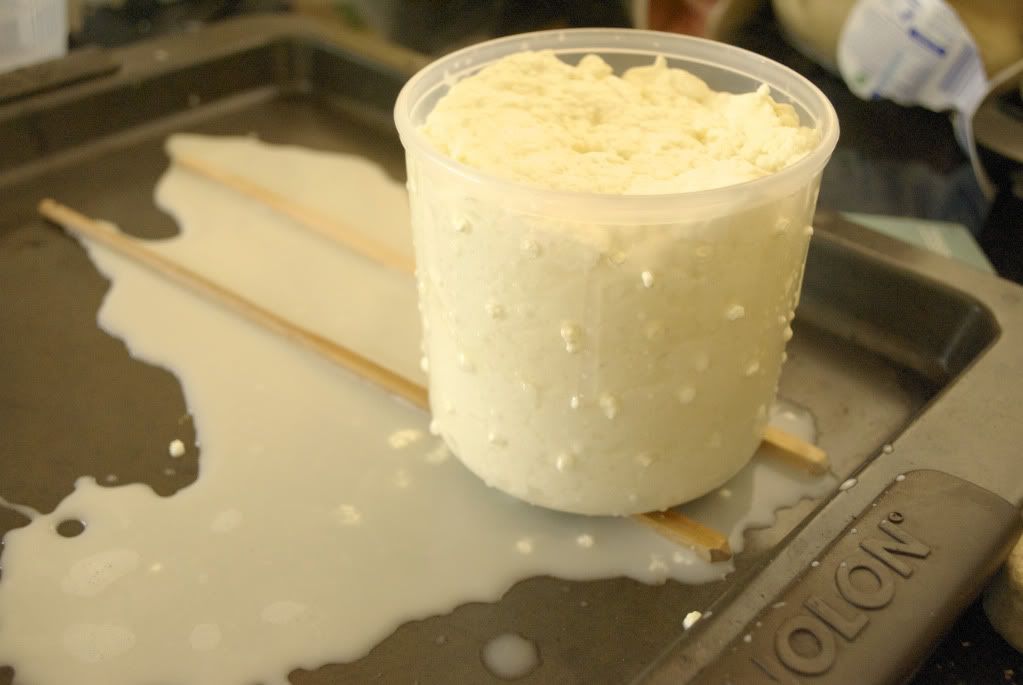
It's actually a pretty easy process, doesn't take very long and requires very few ingredients. The main ingredient is milk and you have to get a very specific type, but I'm not going to go into full details. But in case anyone's interested here's a photographic journey through the process:
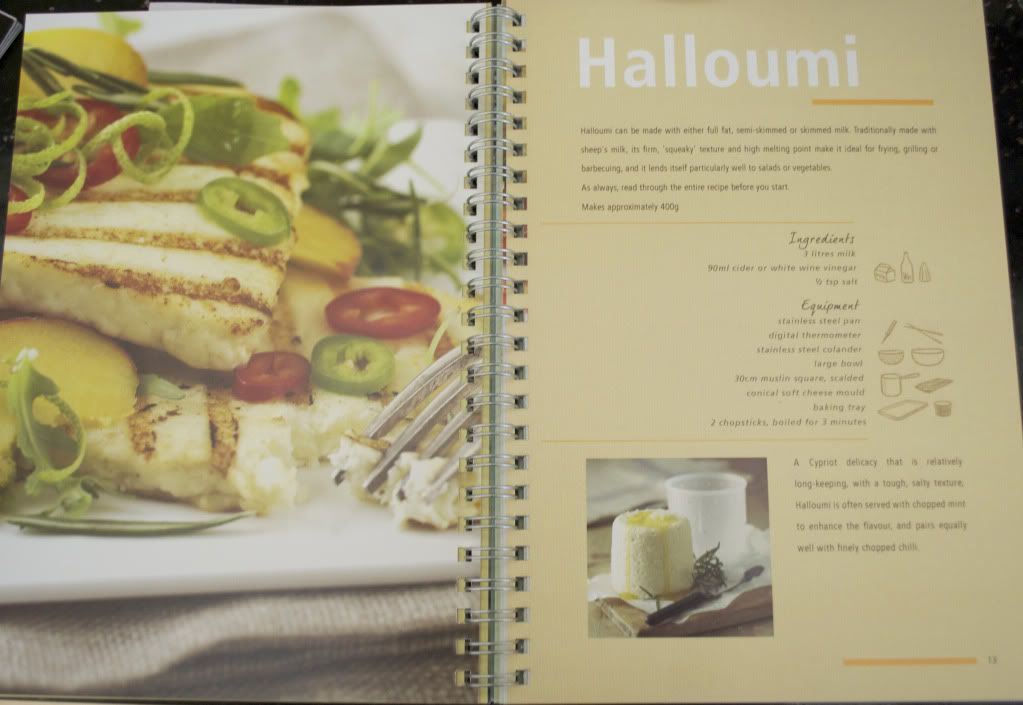
This whole idea stemmed from a book my mum got from Lakeland. If you can read the page you'll see the only ingredients are milk, vinegar and a bit of salt.
The book is called "How To Make Soft Cheese".

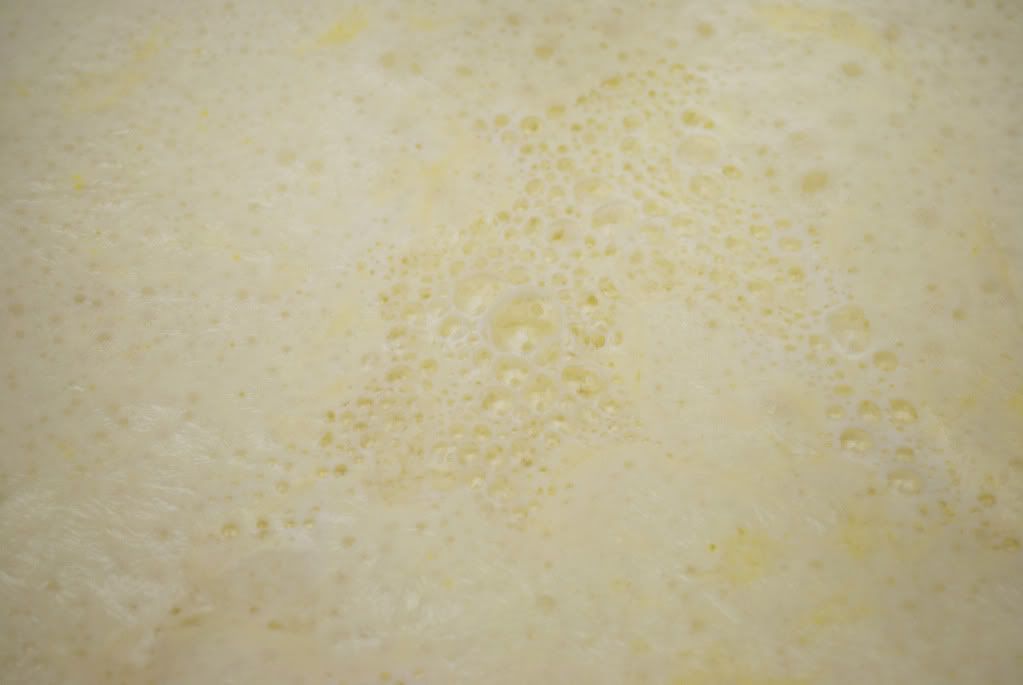
Very appetizing looking skin forming at this point but it smelt so, so good!
   
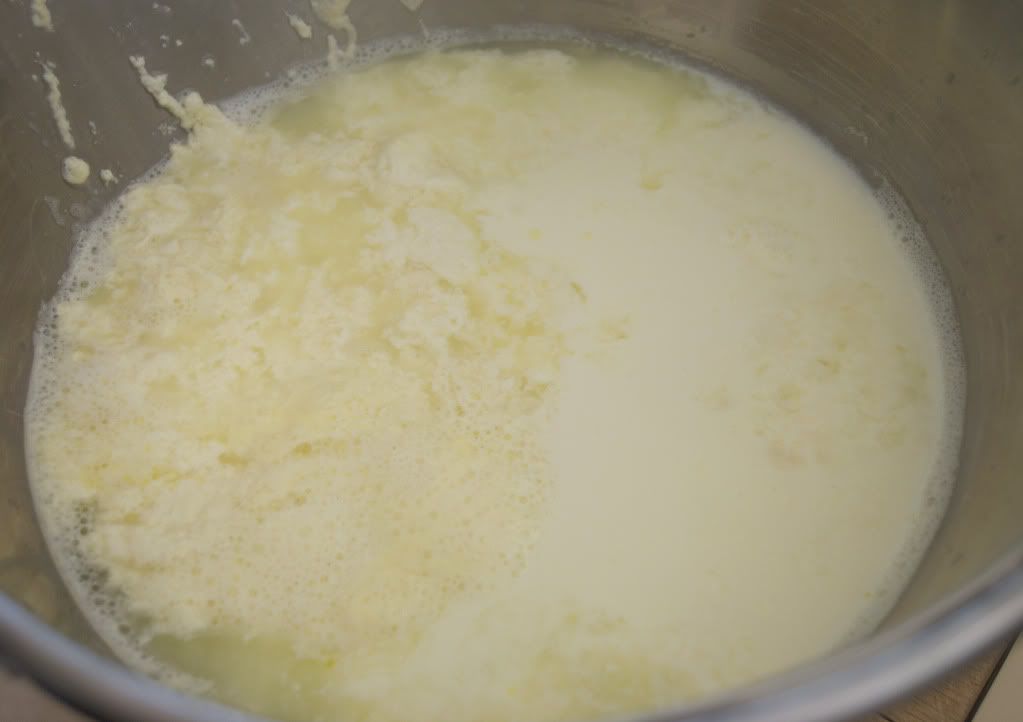
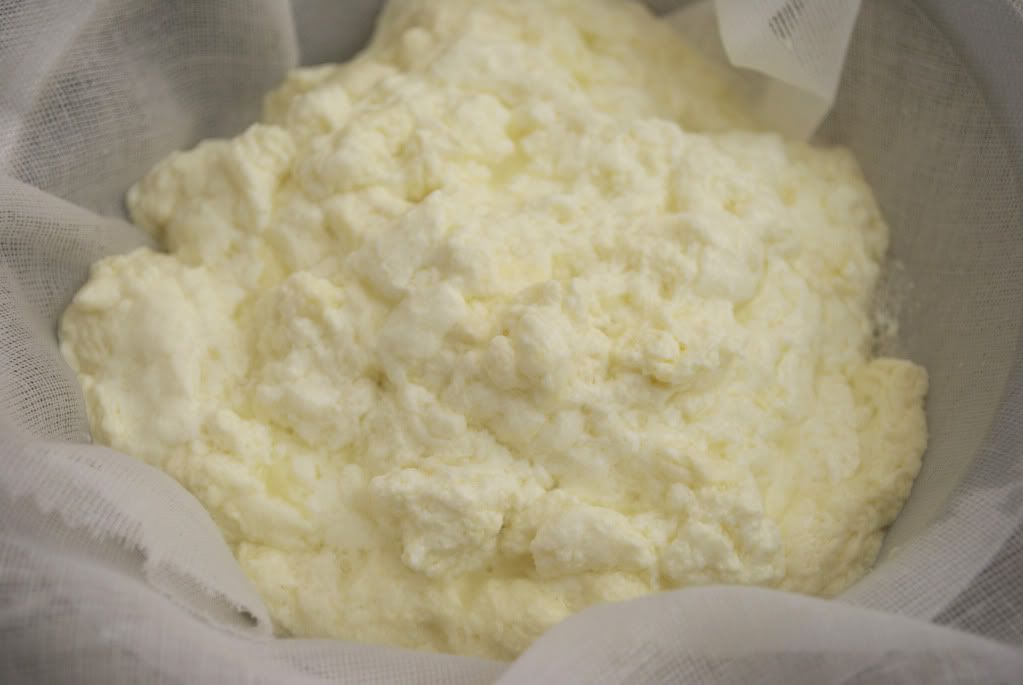
Looked pretty disgusting at this point! We had to "skim the solids" to separate them from the whey. I was very much reminded of Little Miss Muffet!
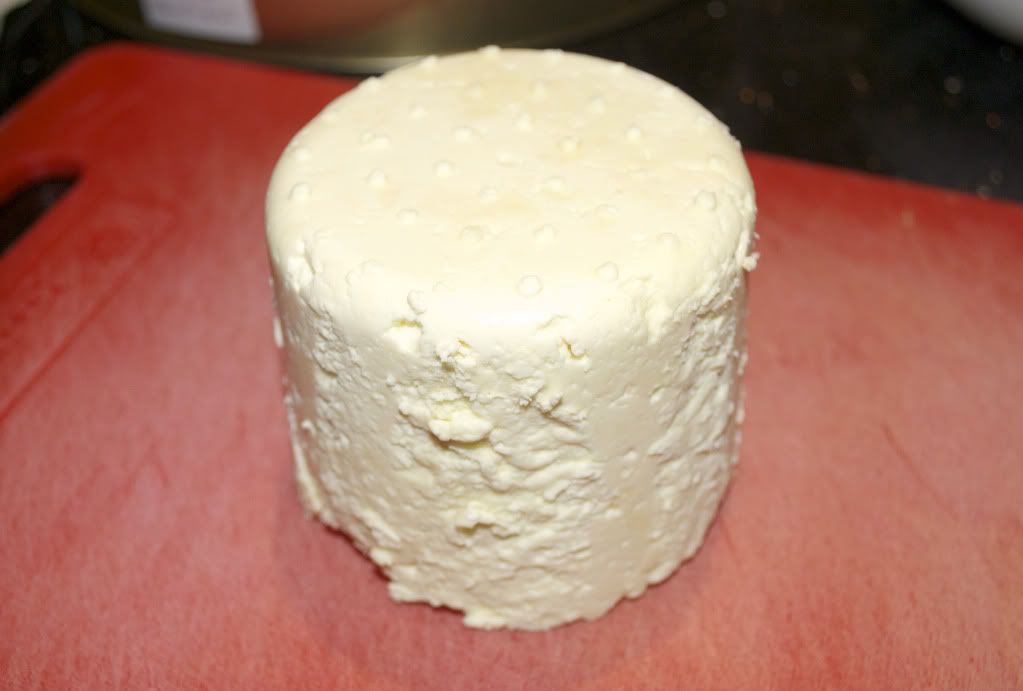
Left to set overnight in a conical mould.
The final product.
   
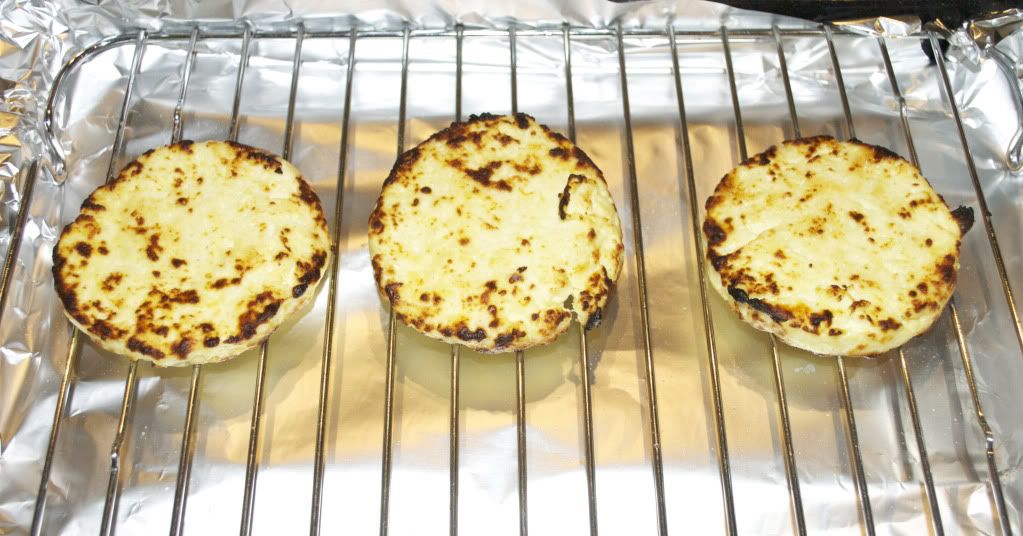
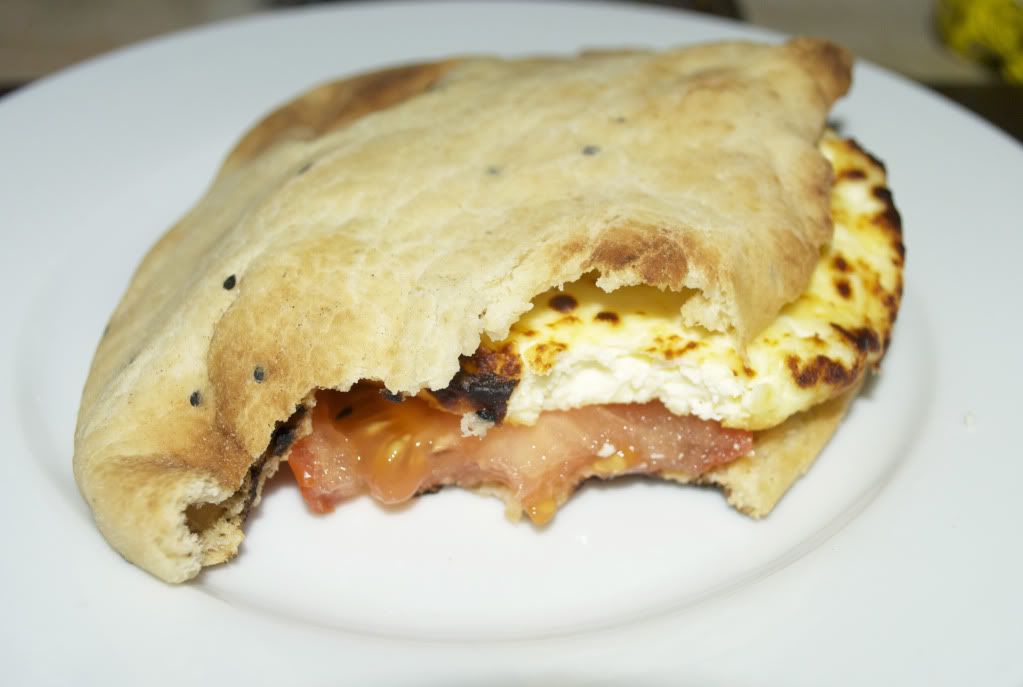
We sliced the halloumi up and had it in a naan bread with some tomato. We'd usually eat it with pitta bread but we didn't have any so we improvised and used naan instead! 

To be honest, it didn't have a whole lot of flavour and it could have done with a little more seasoning. But not bad for a first attempt! I think we're going to try mozzarella next.

Tuesday, 25 September 2012

A Nail a Day.

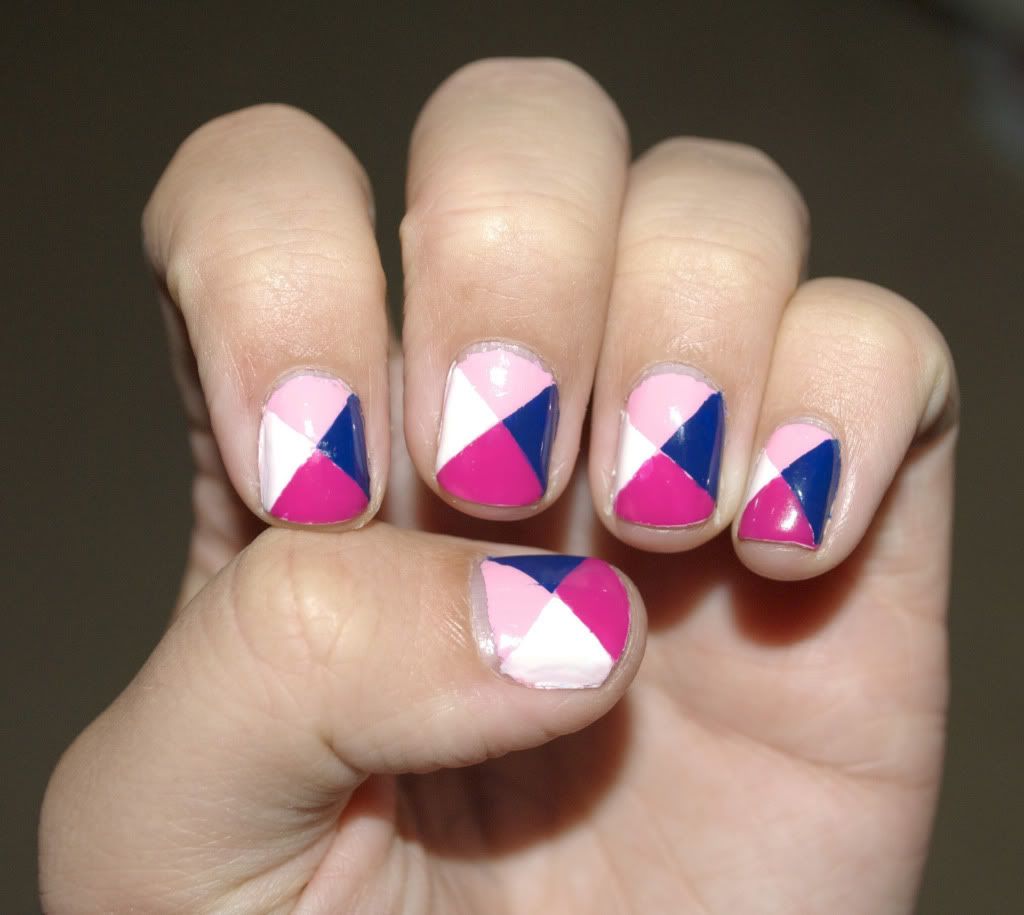
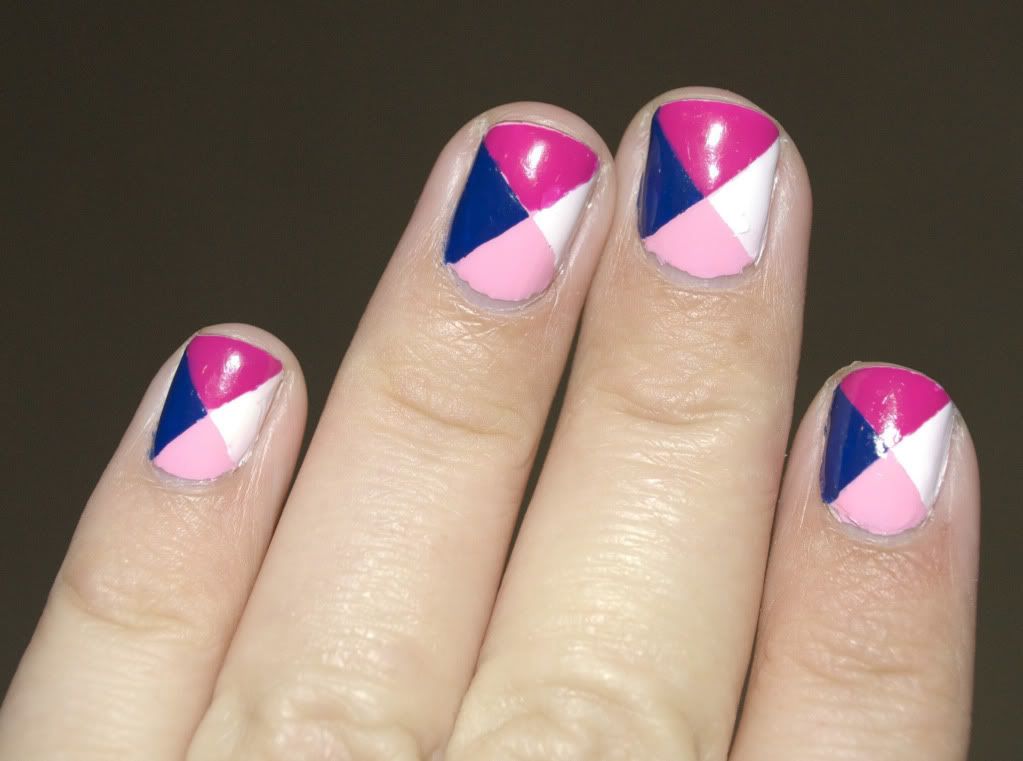
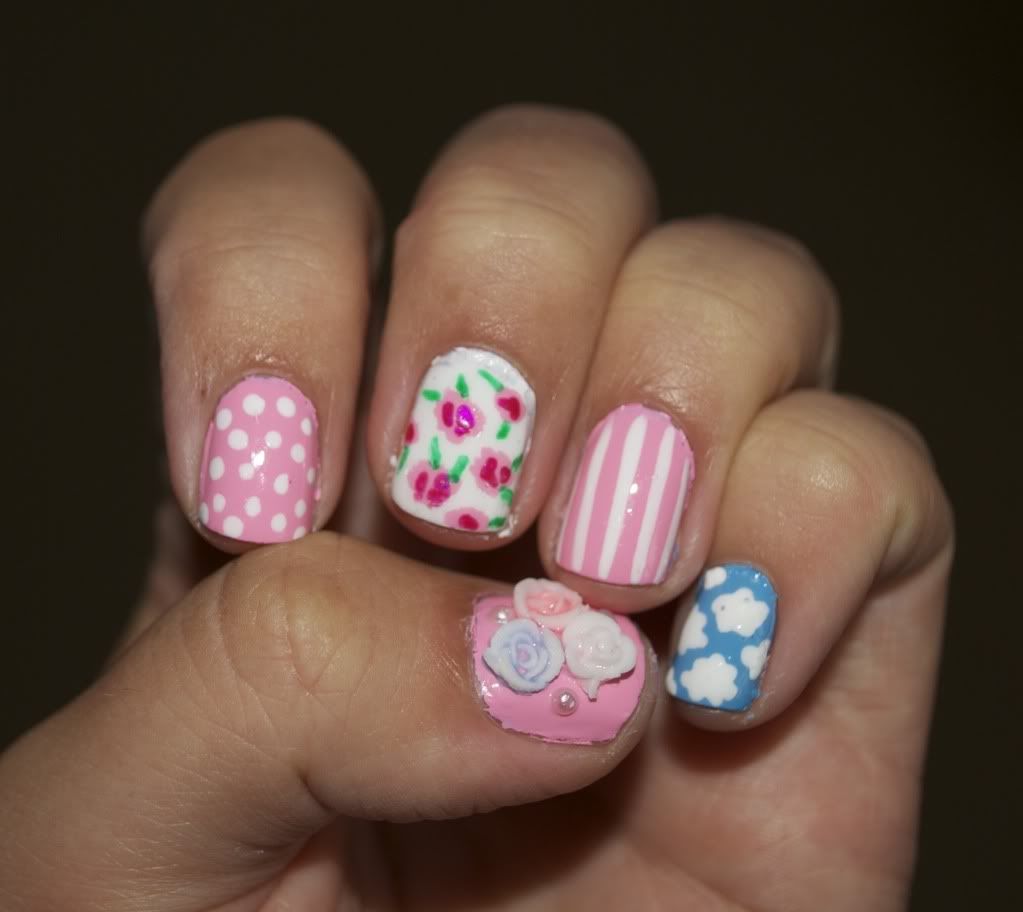
You may or may not know that as I'm currently working in a dull office job and not in design like I really want to, I have to find other ways to express my creativity. This is usually by repainting my nails every couple of days.

So here's a few variations I've tried out recently. Of course, they've all been finished off with a top coat of Seche Vite.

Kites

Barry M Nail Paints in White and Shocking Pink

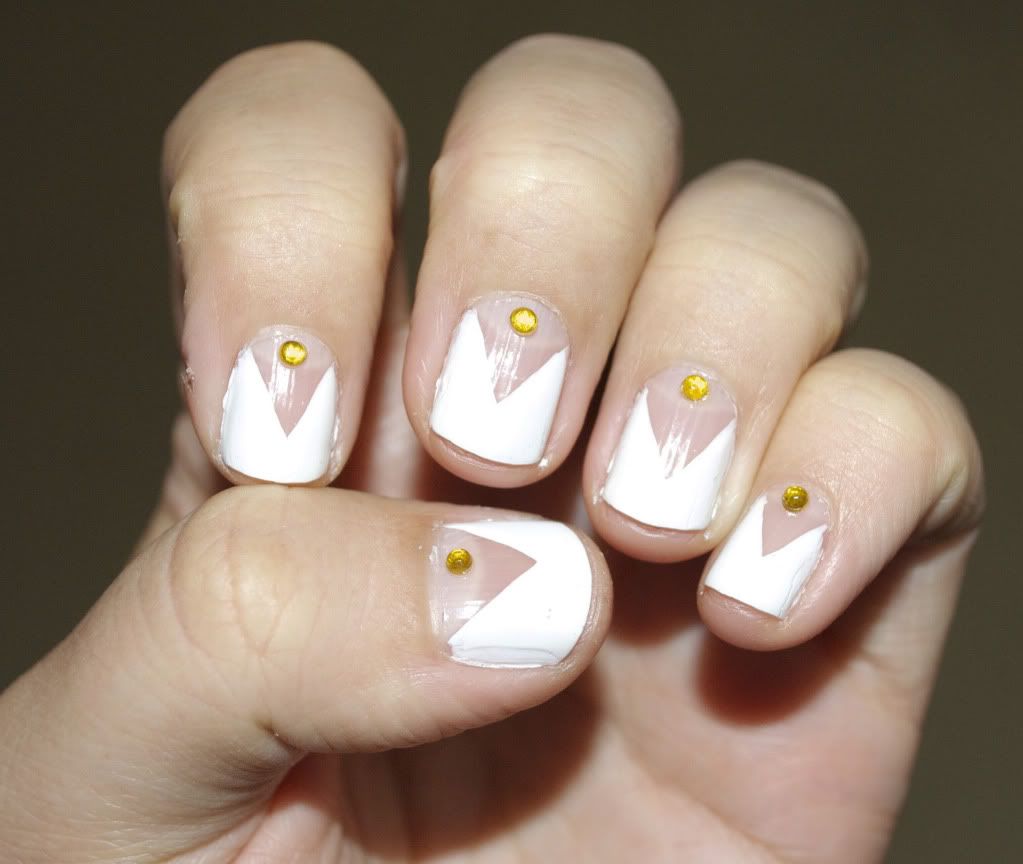
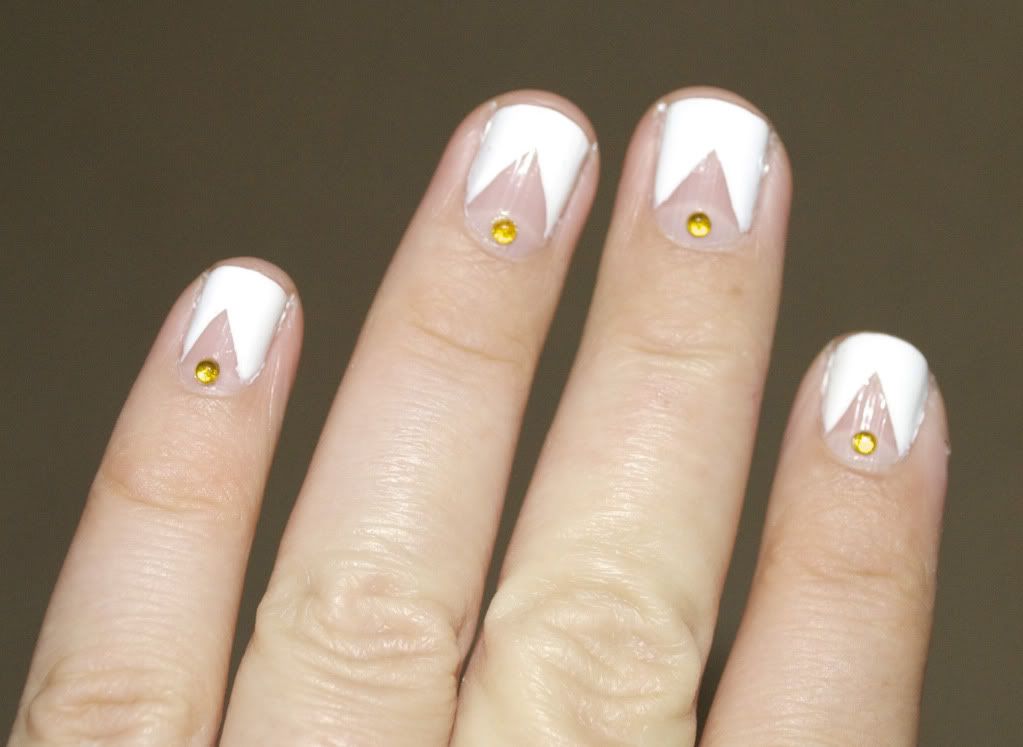
White Tips
The white is Barry M again.
Rhinestones are from bigecity on ebay (I've used this seller many times, they're very good)
I tried doing this design with magic tape but found it was easier to just do them freehand.

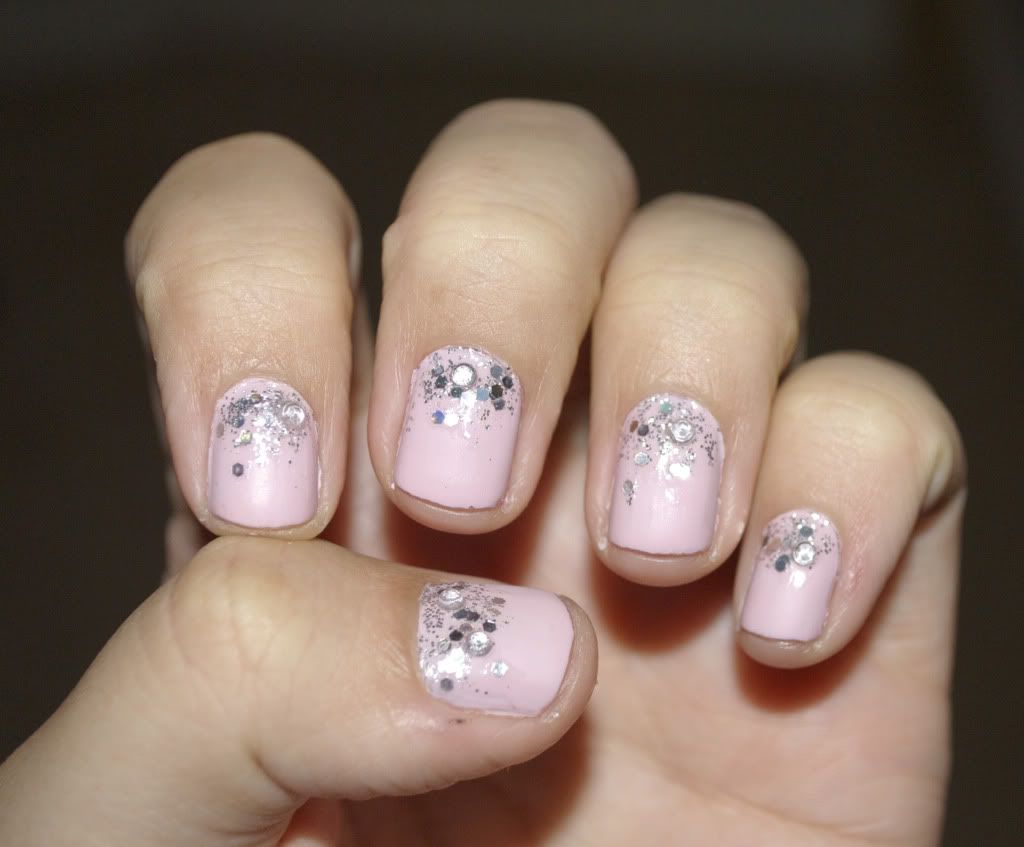
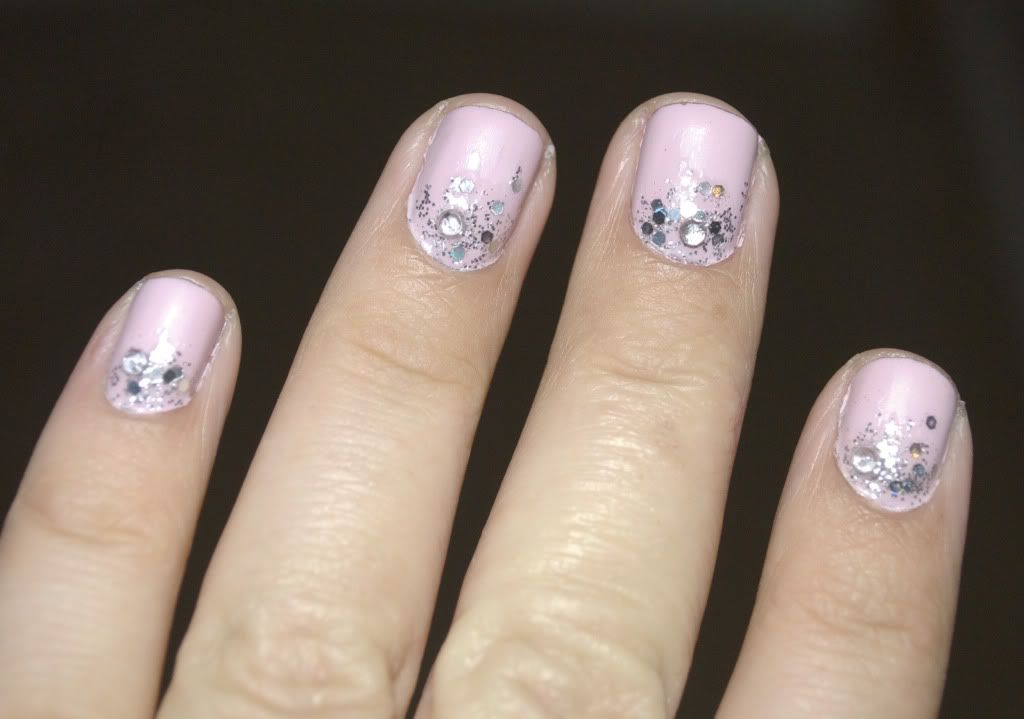
Pink with Silver Glitter

The pink base coat is the same George from Asda one used previously.
The silver glitter is from a nail art pen set. You can find many of these on ebay.
Same rhinestones as before.

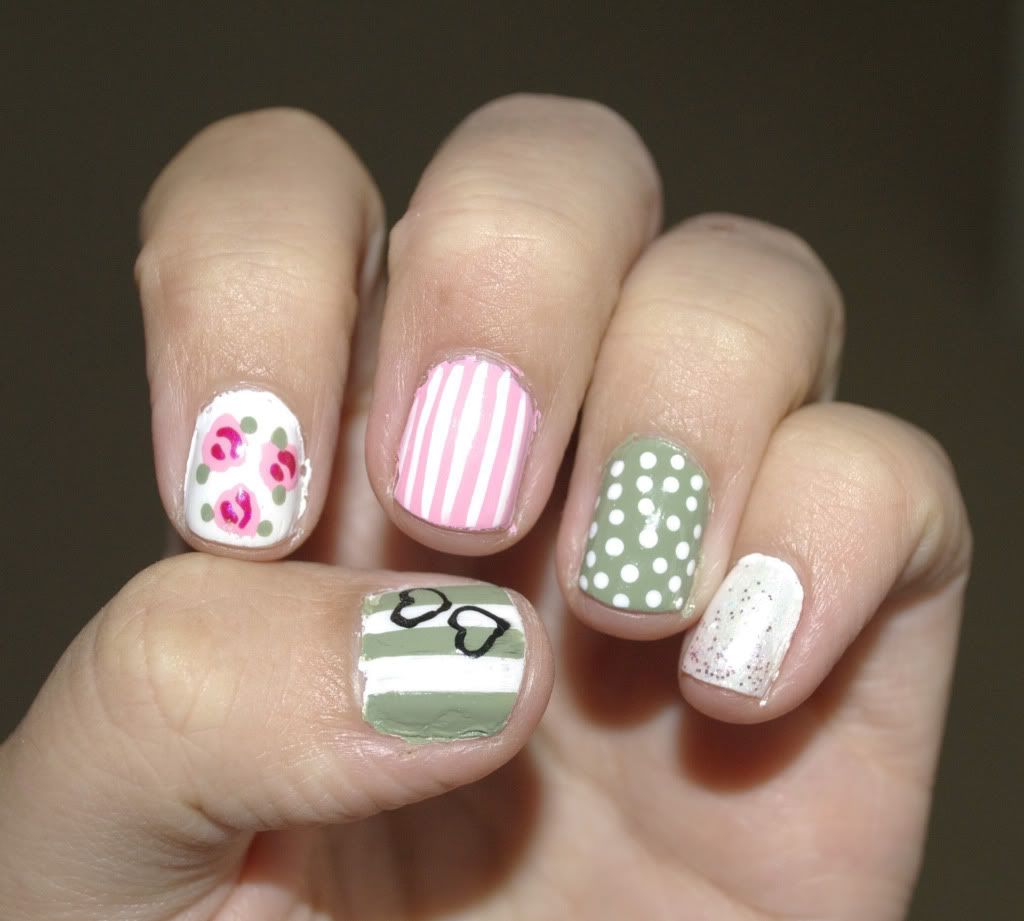
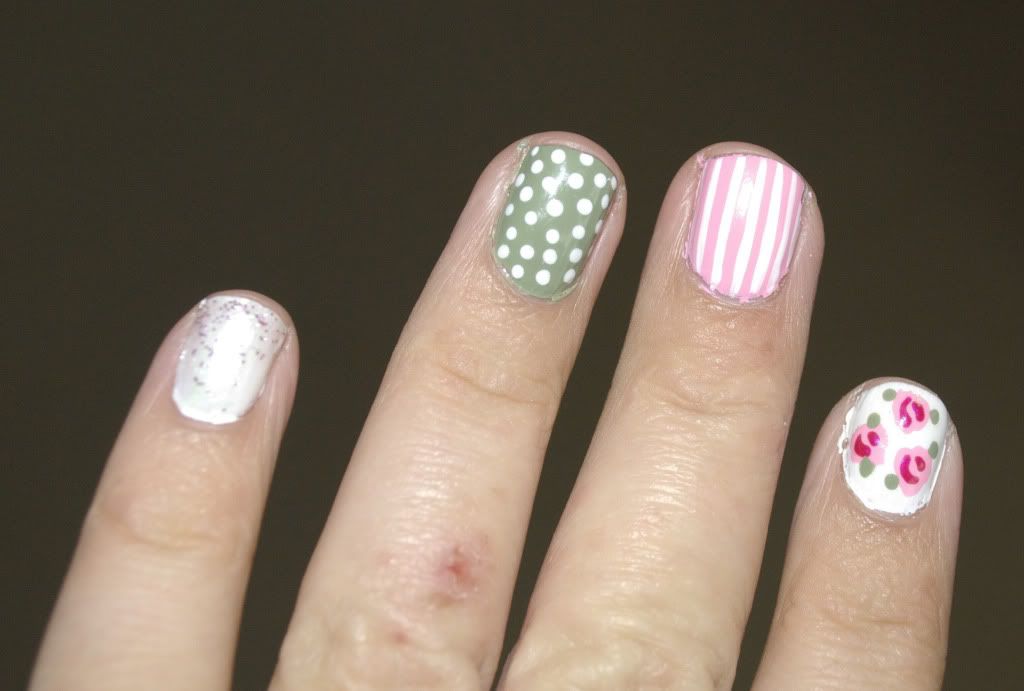
Mixed 1

I used a dotting tool for the white spots on the green and the green spots for the flower leaves. There are many dotting tools available from ebay (you've probably guessed this is my number one source for nail art tools!)
I also used a white nail art pen for the stripes - the thin brush actually makes this quite easy.

I like doing mixed nails when I don't quite know what I want to do so decide to try out a few ideas at once. There's also some things I see which I like but wouldn't want 10 nails of so it's also good for occasions like that.

Mixed 2

The 3D flowers and pearl rhinestones are also from bigecity on ebay.

Monday, 24 September 2012

FUNdraising.

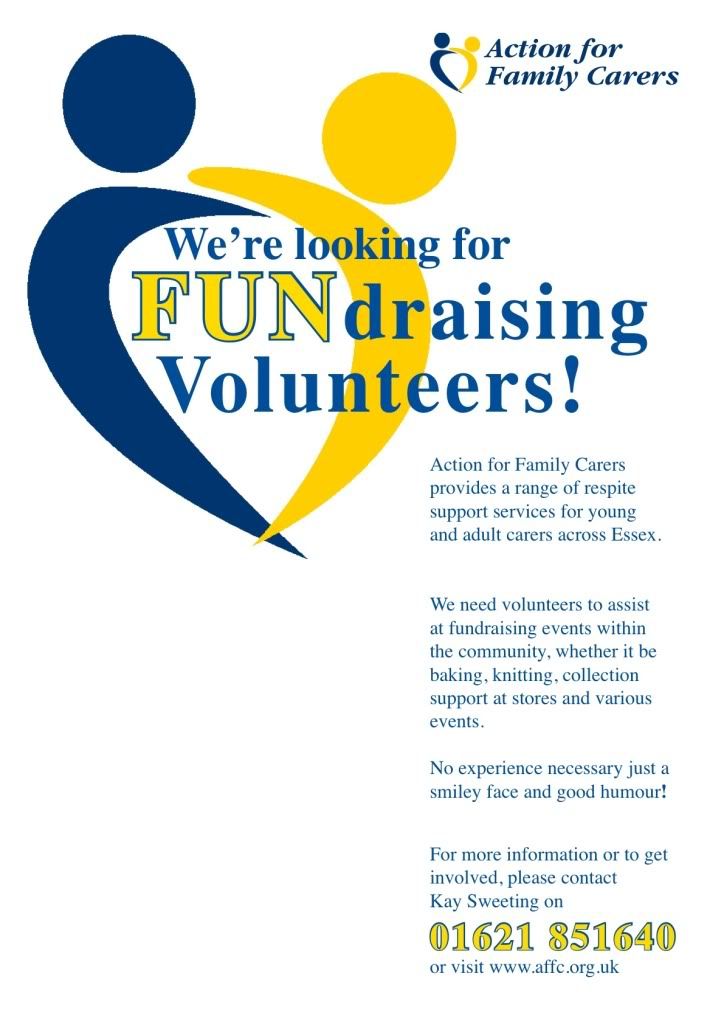
You might have seen my previous fundraising posters I designed for Action for Family Carers, well they've decided they want something a little more fun and lighthearted so I've sent them over this idea:

Sunday, 23 September 2012

Ice Cream Cone Cupcakes.

There's a cupcake competition at work tomorrow in aid of Macmillan Cancer Support, so I thought I'd try something new and different. I'd seen someone post a photo of some ice cream cone cupcakes they'd made on Facebook, so I decided to try that. After searching around for a few recipes (good ones here from Betty Crocker, Meridian Ariel, The Pink Whisk and Baking Mad) I found a successful combination of the lot.

I used a box cake mix. I couldn't find any Becky Crocker mix that wasn't chocolate flavoured, which wasn't what I wanted, so I used a different one but it worked ok. It only made six cakes though so I also had to make some up from scratch.

Here's the process of making them:
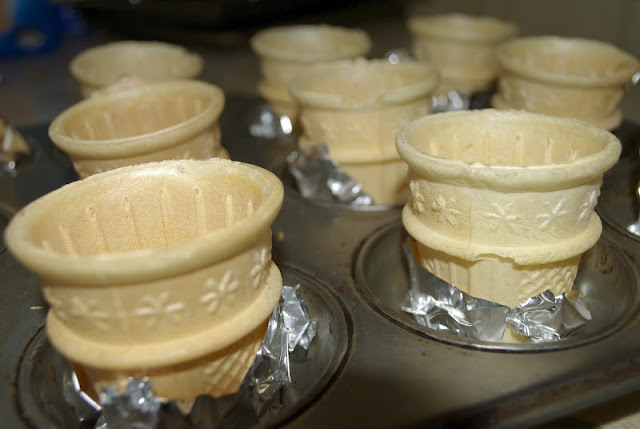
I wrapped the cones in foil as suggested in a few recipes - this really helped them stay upright in the muffin tray. I filled the cones to the bottom of the wider part with the mixture.

The ingredients I used, from left to right:

The boxed mix raised a little more than I wanted so I did cut the tops off before I iced them.

I put the cones in ramekins before I iced them to help them stay upright.

Ta da! They turned out great, and I think they really look like ice creams. There's quite a lot of icing on each one so they're pretty sweet, but they're needed for the look!


Transporting the cakes proved to be a bit more difficult than expected though - the cupcakes were too tall for most of the tupperware we have. To overcome this I used a really big tub and put silicone muffin cases in the bottom for the cones to stand in:
I also wrapped more foil round the base of the cones to really keep them in place while I get them into work.

So overall I love how these cakes turned out! I'll just have to see how they get on in the competition tomorrow; I'm only entering 4 (4 judges) so the extras are for people on my team - they're already excited!
Related Posts Plugin for WordPress, Blogger...